How to install tile floor? Step by step
Installing a tile floor can transform any space with a durable, stylish, and easy-to-maintain surface. Whether you’re working on a bathroom, kitchen, or living area, following the right installation steps ensures a professional and long-lasting result. In this guide, we’ll walk you through the step-by-step process of installing tile flooring.
1. Planning and design
Before starting, it's essential to plan your layout and choose the right materials for your space.
Step 1: Choose your tile
✔ Select the tile material (ceramic, porcelain, stone, etc.).
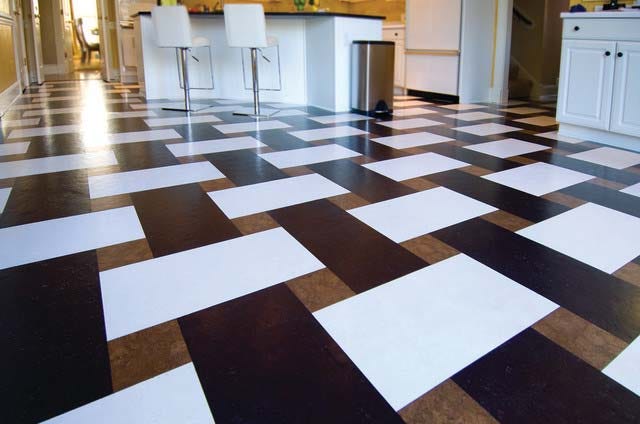
✔ Choose the size and pattern that fits your design style.
✔ Consider slip-resistant tiles for areas prone to moisture.
Step 2: Measure and plan layout
✔ Measure the area to determine the amount of tile and materials needed.
✔ Mark reference lines using a chalk line to ensure straight rows.
✔ Plan the tile placement to avoid small, uneven cuts at edges.
💡 Pro Tip: Dry-lay the tiles (without adhesive) to visualize the layout before installation.

2. Surface preparation
A smooth and clean subfloor is critical for a durable tile installation.
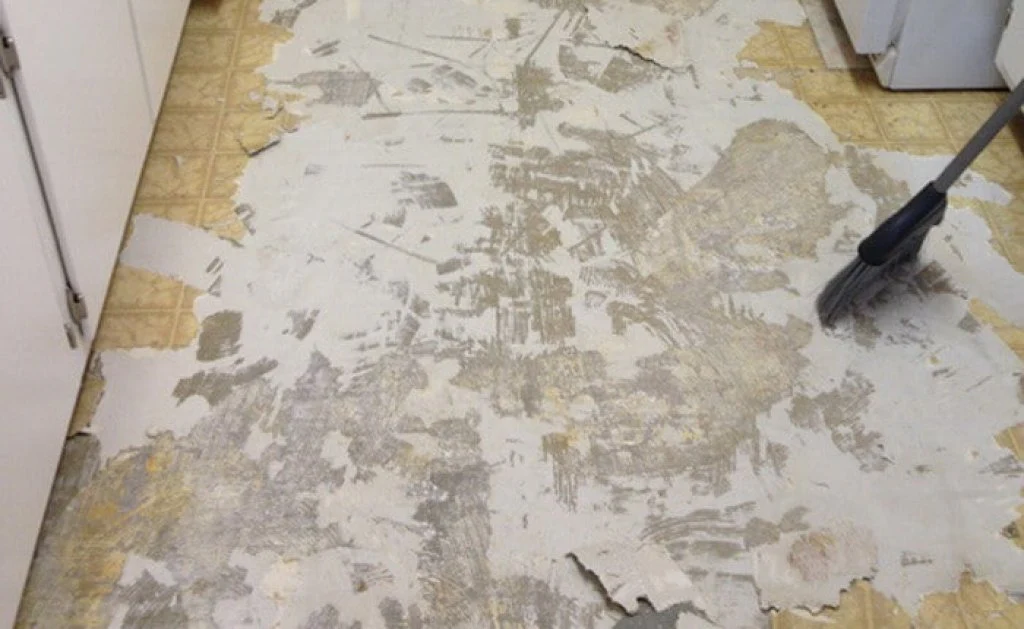
Step 1: Clean the subfloor
✔ Remove dirt, dust, and debris to ensure proper adhesion.
✔ Check for uneven spots and level the surface if needed.
Step 2: Install cement board (If needed)
✔ For wood subfloors, install a cement backer board to prevent flexing.
✔ Use thin-set mortar and screws to secure the board in place.
Step 3: Apply waterproof membrane (For wet areas)
✔ In bathrooms and kitchens, use a waterproofing layer to prevent moisture damage.
💡 Pro Tip: Allow surfaces to dry completely before starting tile installation.

3. Tile installation
Now it’s time to lay the tiles and secure them properly.
Step 1: Apply thin-set mortar
✔ Mix thin-set mortar to a peanut butter-like consistency.
✔ Spread the mortar evenly using a notched trowel at a 45-degree angle.
✔ Work in small sections to prevent drying before tile placement.
Step 2: Lay the tiles
✔ Start at the center of the room and work outward.
✔ Press each tile firmly into the mortar, using spacers to maintain even gaps.
✔ Check alignment frequently to ensure straight rows.
Step 3: Cut tiles as needed
✔ Use a tile cutter or wet saw to cut edge tiles.
✔ Measure carefully and trim small sections when necessary.
💡 Pro Tip: Allow tiles to set for at least 24 hours before grouting.

4. Grouting and sealing
After the tiles are set, it’s time to fill the joints and protect your new floor.
Step 1: Apply grout
✔ Choose a grout color that complements your tiles.
✔ Spread grout over the tiles using a rubber float, pressing it into the joints.
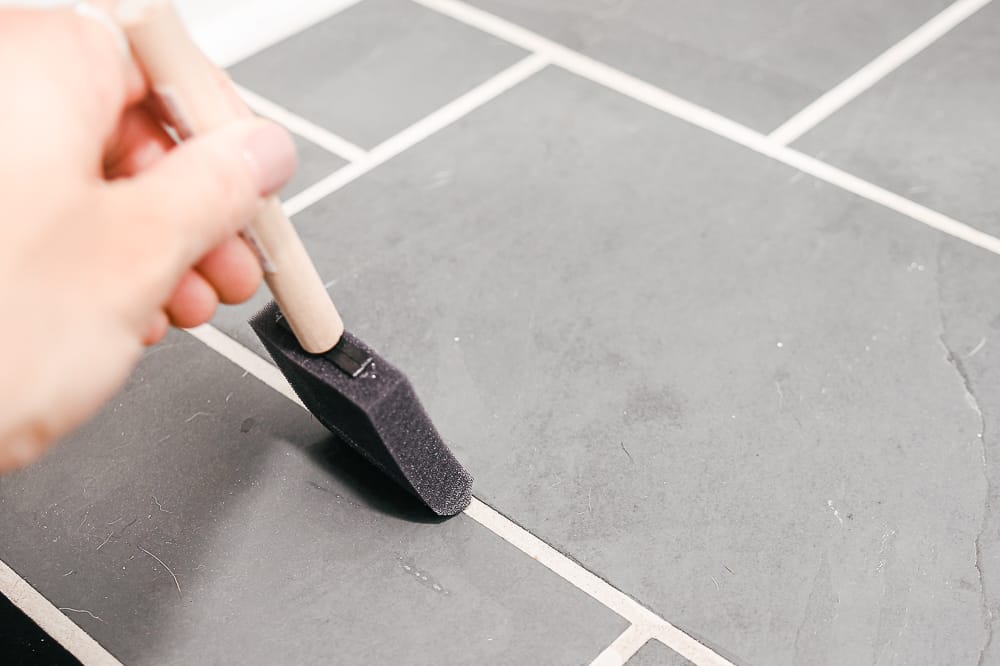
✔ Wipe off excess grout with a damp sponge before it dries.
Step 2: Seal the grout (If necessary)
✔ For porous grout, apply a sealer to prevent stains and moisture absorption.
✔ Allow the grout to cure for at least 48 hours before heavy use.
💡 Pro Tip: Avoid walking on the floor for at least 24 hours after grouting.

5. Final inspection and cleanup
Once the grout has dried, inspect and clean the floor for a perfect finish.
Step 1: Check for any imperfections
✔ Ensure grout lines are even and smooth.
✔ Look for loose tiles or missing grout, fixing any issues immediately.
Step 2: Clean the tile surface
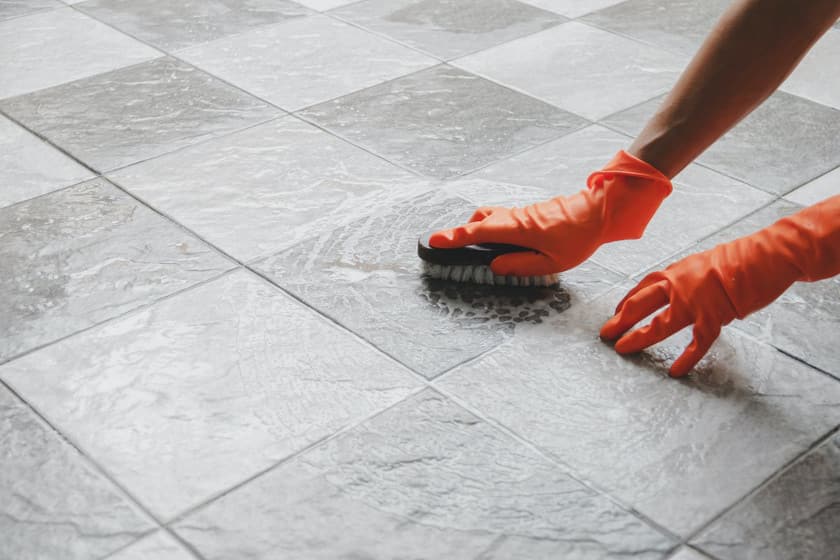
✔ Use a soft cloth or mop to remove haze from grout residue.
✔ Avoid harsh chemicals that could damage the tile finish.
Step 3: Enjoy your new tile floor!
✔ Once fully dry, your tile floor is ready for use!
💡 Pro Tip: Regular sweeping and mopping will keep your tile floors looking fresh for years.

Tile floor installation near me
If you want professional tile flooring installation, Pessotti Construction is here to help! We provide:
✅ Expert tile installation for homes and businesses.
✅ Durable and high-quality craftsmanship.
✅ Fast and professional service with attention to detail.
📞 Contact us today for a free consultation and estimate!
