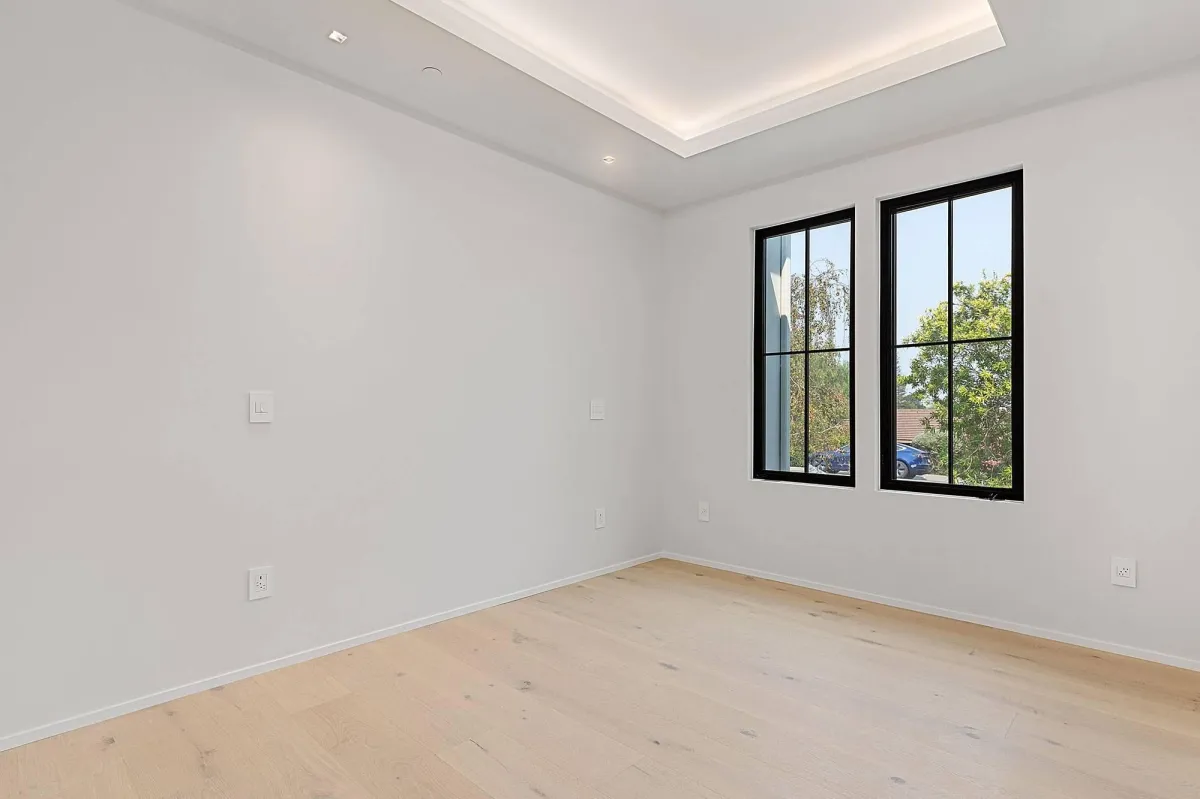
How to install drywall? Tips and tricks
Installing drywall is an essential step in home construction and renovation, creating smooth, durable walls and ceilings. Whether you're a DIY enthusiast or a contractor, knowing the best techniques and tricks ensures a flawless finish. This guide covers step-by-step drywall installation, along with expert tips to help you achieve professional results.
Step 1: Gather your materials and tools
Before you start, make sure you have the necessary materials:
✔ Drywall sheets (typically 4’x8’, 4’x12’, or larger)
✔ Drywall screws or nails
✔ Drill or drywall screw gun
✔ Measuring tape and level
✔ Utility knife or drywall saw
✔ T-square for accurate cuts
✔ Joint compound (mud) and drywall tape
✔ Sanding block or drywall sander
Step 2: Measure and cut the drywall
📌 Measure the area where you’ll be installing drywall and mark your cuts.
📌 Use a T-square and utility knife to score the drywall along the marked line.
📌 Snap the drywall along the score line and cut through the backing paper with a utility knife.
💡 Pro Tip: When measuring, allow for a 1/4-inch gap at the floor and ceiling to accommodate expansion.
Step 3: Secure the drywall to the studs
📌 Position the drywall sheet against the wall or ceiling, making sure the edges align with wall studs or ceiling joists.
📌 Use drywall screws (1 1/4" or 1 5/8") to secure the sheet every 12-16 inches along the studs.
📌 Keep screws slightly below the surface, but avoid breaking the paper layer.
💡 Pro Tip: Start from the top when securing drywall to avoid misalignment.
Step 4: Apply drywall tape and joint compound
📌 Cover seams with drywall tape, pressing it firmly into place.
📌 Apply a thin layer of joint compound (mud) over the tape using a 6-inch taping knife.
📌 Let it dry completely, then apply two more coats, feathering the edges outward for a smooth finish.
💡 Pro Tip: Use lightweight joint compound for easier application and sanding.
Step 5: Sand and finish the surface
📌 Once the compound is dry, sand it using a fine-grit sanding block or drywall sander.
📌 Wipe away dust with a damp cloth or vacuum attachment.
📌 Prime the drywall before painting to ensure even coverage and smooth texture.
💡 Pro Tip: Use a work light at an angle to highlight uneven spots before painting.
Tips and tricks for a flawless drywall installation
✔ Use longer drywall sheets to reduce the number of seams.
✔ Stagger joints between drywall sheets to prevent visible lines.
✔ Invest in a drywall lift for easier ceiling installation.
✔ Apply multiple thin coats of joint compound instead of one thick layer.
✔ Keep ventilation in mind to reduce dust during sanding.
Drywall installation near me
Need professional drywall installation for your home or business? Pessotti Construction specializes in:
✅ Seamless drywall installation for walls and ceilings.
✅ Drywall finishing and texture application.
✅ Residential and commercial drywall services.
✅ Fast and professional service with top-quality materials.
📞 Contact us today for a free estimate and let’s get your walls looking perfect!
