The 7 house construction steps
Building a new home is an exciting journey, a significant investment, and, let's be honest, a pretty complex undertaking. From the initial dream to the final walkthrough, there are numerous stages involved. Understanding these steps can make the entire process feel less daunting and help you stay informed as your vision takes shape. So, what are the key phases involved in bringing a new house to life? While every project can have its nuances, most residential constructions follow a general sequence. Let's explore the typical 7 house construction steps.
What are the 7 steps of construction?
Think of house construction as a well-orchestrated play with several acts. Each step builds upon the last, leading to the grand finale: your new home. Here’s a common breakdown:
Step 1: Planning, design, and permitting
Before any dirt is moved, a lot of groundwork (pun intended!) happens. This crucial first phase involves:
Defining your needs & budget: What kind of house do you envision? How many bedrooms and bathrooms? What's your overall budget for the project? This is where you dream big but also set realistic financial boundaries.
Choosing your lot: If you don't already own land, selecting the right piece of property is paramount. Consider location, size, topography, and local zoning regulations.
Hiring professionals: This is where you assemble your team. You'll likely need an architect or designer to create detailed blueprints and a reputable builder, like Pessotti Construction, to manage the construction process.
Developing plans: Your architect will translate your ideas into detailed construction drawings and specifications. This includes floor plans, elevations, electrical layouts, plumbing plans, and material choices.
Securing permits: Your builder will typically handle the process of obtaining all necessary building permits from local authorities. This ensures your home is built to code and meets all safety standards. This step can sometimes take a while, so patience is key.
Step 2: Site Preparation and foundation
Once the plans are approved and permits are in hand, it's time to prepare the construction site and lay the foundation. This involves:
Clearing the lot: Removing trees, rocks, and debris.
Excavation: Digging for the foundation, whether it's a basement, crawl space, or slab-on-grade.
Utility lines: Temporary utilities (water, electricity) might be set up for construction use. Underground utilities (sewer, water, gas, electrical) are often installed at this stage or roughed in.
Pouring the foundation: Footings are poured, and then the foundation walls (concrete block or poured concrete) are constructed. If it's a slab foundation, the concrete slab is poured. This is literally the base of your home, so it needs to be strong and level.
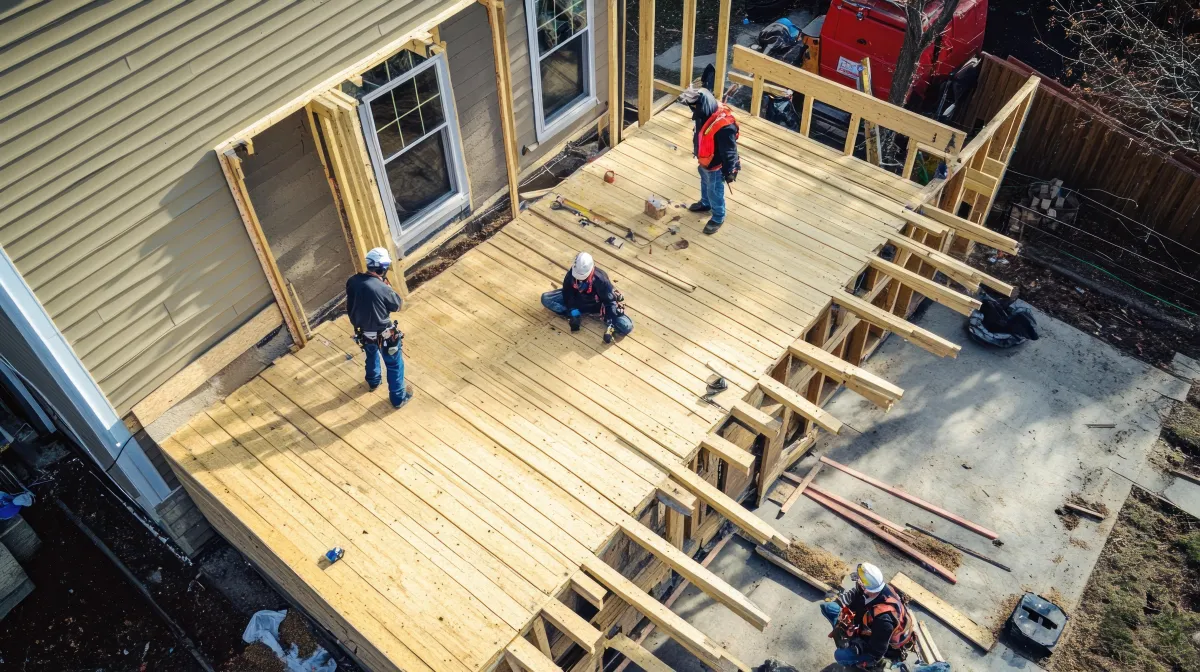
Step 3: Framing
This is when your house starts to take on a recognizable shape. The framing crew erects the skeleton of the house, including:
Floors, walls, and roof systems: Using wood or steel, the framers build the floor joists, subfloor, interior and exterior walls, and the roof trusses or rafters.
Sheathing: Exterior walls and the roof are covered with sheathing (usually OSB or plywood), which provides structural support and a surface for attaching siding and roofing materials.
House Wrap: A protective barrier is installed over the sheathing to prevent water infiltration while allowing moisture vapor to escape.
Step 4: Exterior work (Windows, doors, siding, roofing)
With the framing complete, the focus shifts to enclosing the structure and protecting it from the elements:
Roofing: Shingles, tiles, metal, or other roofing materials are installed.
Windows and exterior doors: These are installed to make the house weather-tight.
Siding: The exterior finish material (vinyl, wood, brick, stucco, fiber cement) is applied. This is a major part of your home's curb appeal.
Step 5: Rough-in mechanicals (Plumbing, electrical, HVAC)
Now it's time for the guts of the house. Before insulation and drywall go up, licensed contractors install the systems that make your home functional:
Plumbing: Pipes for water supply and drains are run throughout the house.
Electrical: Wiring for outlets, switches, light fixtures, and appliances is installed.
HVAC (Heating, Ventilation, and Air Conditioning): Ductwork, vents, and the main HVAC units (or preparations for them) are put in place.
This phase also includes running lines for things like security systems, central vacuum, and audio/video systems if they are part of your plan. Inspections are typically required at this stage to ensure everything is up to code before the walls are closed up.
Step 6: Interior finishes
This is where the house really starts to feel like a home. It's a long phase with many components:
Insulation: Insulation is installed in exterior walls, attics, and sometimes interior walls for soundproofing.
Drywall: Sheets of drywall (also known as gypsum board or Sheetrock) are hung, taped, mudded, and sanded to create smooth walls and ceilings.
Interior textures & painting: Walls and ceilings are textured (if desired) and then primed and painted.
Flooring: Tile, hardwood, laminate, vinyl, or carpet is installed.
Cabinets and countertops: Kitchen and bathroom cabinets and countertops are put in place.
Interior doors, trim, and millwork: Interior doors, baseboards, window sills, crown molding, and other decorative trim are installed.
Light fixtures, outlets, and switches: The visible parts of the electrical system are installed.
Plumbing fixtures: Sinks, toilets, showers, bathtubs, and faucets are installed.
Appliances: Major appliances are typically installed towards the end of this phase.
Step 7: Final touches, landscaping, and walkthrough
The home stretch! This final phase includes:
Exterior finishing: Driveways, walkways, and patios are often completed.
Landscaping: Grading, sod or seeding, planting trees and shrubs.
Final cleaning: A thorough cleaning of the entire house.
Final inspections: Local building inspectors will conduct final inspections to ensure everything meets code and issue a Certificate of Occupancy (CO).
Punch list & walkthrough: You'll do a final walkthrough with your builder to identify any minor issues or touch-ups that need to be addressed (this is often called a punch list").
FAQ’s house construction phases
What is the hardest stage in building a house?
Many builders and homeowners find the interior finishes stage (Step 6) to be one of the most challenging. It involves coordinating many different trades (painters, flooring installers, cabinet makers, electricians, plumbers) and managing a multitude of details and decisions. Delays in one area can easily cascade and impact others. Plus, this is when the house starts looking like a home, so anticipation (and sometimes stress) can be high.
What is the most expensive phase of building a house?
Typically, the framing (Step 3) and the interior finishes (Step 6) are among the most expensive phases. Framing involves significant material (lumber or steel) and labor costs to erect the structure. Interior finishes encompass a wide range of materials and labor, from drywall and flooring to cabinets, countertops, and fixtures, all of which can add up quickly depending on the quality and complexity chosen.
Looking for a house construction company? Contact Pessotti Construction
Navigating these seven steps requires expertise, careful planning, and skilled execution. If you're dreaming of building a new home in Massachusetts and looking for a reliable construction partner, Pessotti Construction is here to guide you through every phase. We pride ourselves on quality craftsmanship, transparent communication, and a commitment to bringing your vision to life.
Contact us today to discuss your new home construction project!